
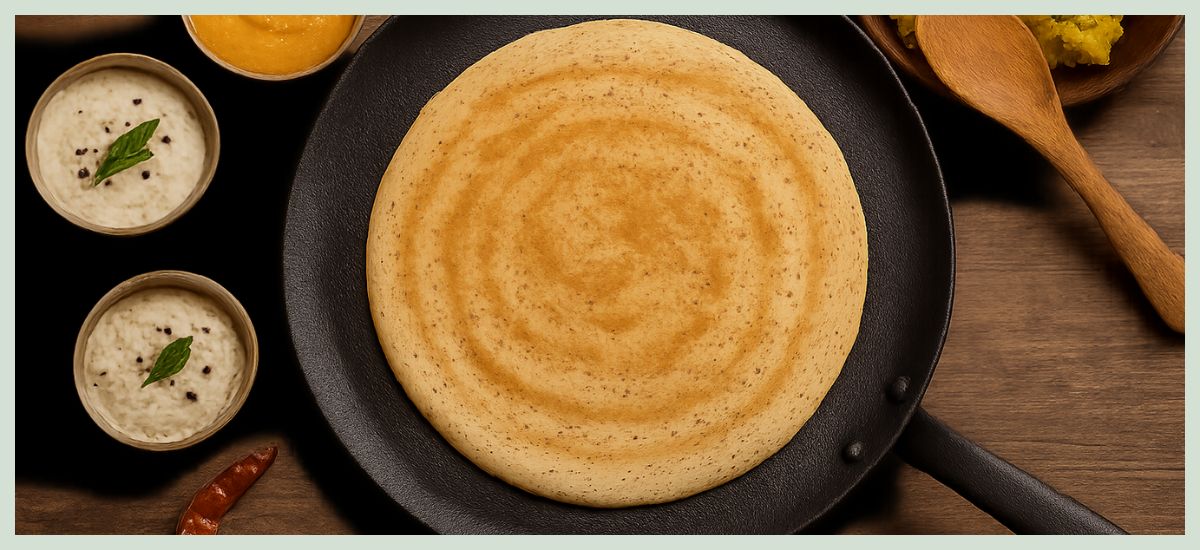
If you’ve ever bitten into a paper-thin dosa, golden, crisp at the edges, and delicately soft inside, you know it’s pure breakfast magic. But try whipping up the same dosa at home, and many are left scratching their heads. Why is it sticking? Why does it tear? Why isn’t it that beautiful, even shade of brown?

The answer often lies in a humble yet mighty kitchen hero: your dosa pan, or tawa.
Yes, the batter matters. Yes, fermentation plays a role. But if you’re after restaurant-style crispiness, your choice of tawa is just as crucial. Let’s explore why your dosa pan matters so much, how to pick the best one, and what you can do to keep it in top shape for perfect results every time.
Why Your Dosa Tawa is a Game Changer
Many home cooks underestimate the role of the tawa. A dosa is, after all, only as good as the surface it’s cooked on. The tawa does more than just heat up your batter; it controls the way the batter spreads, cooks, crisps up, and releases.
Imagine trying to pour dosa batter on a thin, lightweight nonstick pan that heats unevenly. The batter might clump in the center or refuse to spread thin. Or worse, it may stick stubbornly no matter how much oil you pour on.
A proper dosa pan, on the other hand, holds heat evenly, gives you full control over texture, and ensures the dosa lifts off beautifully, with minimal oil.
Types of Dosa Tawas: Pros, Cons & Best Uses
Let’s break down the most common options so you can pick what suits you best.
1. Cast Iron Tawa: The Traditional Champion
Why You’ll Love It
- Excellent heat retention: Cast iron gets hot and stays hot, helping your dosa cook evenly.
- Crispier dosas: Thanks to steady high heat, cast iron gives that signature lace-like crisp texture.
- Gets better with age: A well-seasoned cast iron tawa becomes naturally nonstick over time.
What to Watch Out For
- Needs a little love and maintenance — regular seasoning, gentle cleaning, and proper drying to prevent rust.
- Can be heavy to lift or maneuver, especially when pouring out leftover batter.
2. Carbon Steel Tawa: A Close Cousin
Why You’ll Love It
- Lighter than cast iron but still provides excellent heat retention.
- Seasoned similarly to cast iron, developing a natural nonstick patina.
What to Watch Out For
- Also requires seasoning and careful cleaning. It can rust if left damp.
3. Nonstick Tawa: Easy & Beginner-Friendly
Why You’ll Love It
- Batter hardly sticks, even with very little oil.
- Lightweight, easy to handle, and quick to clean.
What to Watch Out For
- Doesn’t always give that deep, crispy texture because it can’t hold as high a heat.
- Nonstick coatings wear off over time. Avoid using metal spatulas or scrubbing with steel wool.
4. Granite or Hard-Anodized Tawa: The Modern Middle Ground
Why You’ll Love It
- More durable than basic nonstick pans.
- Slightly higher heat tolerance and generally better longevity.
What to Watch Out For
Still doesn’t develop the natural seasoning or improve with age like cast iron.
Tips for Buying the Perfect Dosa Pan
When shopping around for a tawa, keep these pointers in mind:
- Go for size: A 10 to 12-inch diameter gives you enough space to spread the batter thin.
- Flat, not concave: Many chapati tawas have a slight dip; avoid these for dosas. A flat surface ensures even spreading.
- No high sides: Unlike frying pans, a dosa tawa should have low or no edges so you can easily spread the batter in circular motions.
- Sturdy build: Especially if you’re eyeing cast iron, check the weight and thickness.
How to Season & Care for Your Dosa Tawa
This is where many beginners trip up. Even the best cast iron or carbon steel tawa needs a little effort up front.
1. Season Before First Use
- Wash the pan thoroughly, dry completely, then rub a thin layer of oil all over.
- Heat it on low for 10-15 minutes, then let it cool. Repeat a couple of times. This builds a nonstick surface.
2. Clean Gently
- Avoid harsh soaps. Instead, wipe with a damp cloth or rinse with warm water.
- Always dry immediately and smear with a touch of oil before storing.
3. For Sticking Problems
- Sometimes, your first few dosas might stick. Don’t lose heart — keep seasoning, and your pan will reward you.
- A tip from grandmothers: rub half an onion dipped in oil over the tawa’s surface before pouring the batter. It helps prevent sticking and improves browning.
Technique: It’s Not Just the Pan, It’s How You Use It
Even the best tawa needs the right technique.
- Moderate heat is key: Too hot, and the batter sets before you spread it. Too cold, and it turns gummy. Try sprinkling a few drops of water — they should sizzle and evaporate quickly.
- Use a ladle to spread outwards in circles: This ensures a thin, even dosa.
- Don’t flip too soon: Let the edges lift naturally before trying to turn or fold.
Bringing It All Together: The Joy of a Good Tawa
At the end of the day, investing in a quality dosa pan is about more than just crispy dosas. It’s about creating memories around the table, treating your family to weekend dosa feasts, or impressing guests with perfect golden swirls.
Whether you go for a trusty cast iron tawa that becomes a lifelong kitchen companion, or a quick-fix nonstick that makes weeknight cooking easier, the right pan will pay you back in crunch, color, and countless happy breakfasts.
Final Thoughts
So the next time your dosas turn out pale, rubbery, or stuck to the pan, don’t blame the batter right away. Look at your tawa. A good dosa pan isn’t just a utensil; it’s your silent partner in culinary triumph.
Invest wisely, season patiently, and cook with love. Before you know it, you’ll be turning out dosas so crisp they practically shatter, and that’s a sound worth chasing.
 Powered by